DIY skincare, or do-it-yourself skincare, refers to the practice of creating your own skincare products using natural ingredients at home. This trend has gained popularity in recent years as people are becoming more conscious about the ingredients they put on their skin and the potential harmful effects of commercial skincare products. DIY skincare offers a range of benefits, such as cost-effectiveness, customization, and the use of natural ingredients. However, it also comes with risks, including the potential for allergic reactions and improper formulation.
One of the main benefits of DIY skincare is cost-effectiveness. Commercial skincare products can be expensive, especially those that contain high-quality natural ingredients. By making your own skincare products at home, you can save money while still reaping the benefits of natural ingredients. Additionally, DIY skincare allows you to customize your products to suit your specific needs. You can choose ingredients that target your skin concerns and adjust the formulation to achieve the desired consistency and texture.
However, DIY skincare also comes with risks. One of the main risks is the potential for allergic reactions. Natural ingredients may still cause allergies or sensitivities in some individuals. It is important to patch test any new ingredient before applying it to your entire face or body. Another risk is improper formulation. Skincare products need to be properly formulated to ensure their effectiveness and safety. Without proper knowledge and understanding of ingredient interactions and concentrations, there is a risk of creating ineffective or even harmful products.
Understanding Your Skin Type: A Guide to Effective DIY Skincare
Before diving into DIY skincare, it is important to understand your skin type. There are four main skin types: normal, dry, oily, and combination. Normal skin is well-balanced and not prone to excessive oiliness or dryness. Dry skin lacks moisture and often feels tight or flaky. Oily skin produces excess sebum, leading to a shiny complexion and potential breakouts. Combination skin is a mix of oily and dry areas, with the T-zone (forehead, nose, and chin) being oily and the cheeks being dry.
To determine your skin type, you can perform a simple test. Wash your face with a gentle cleanser and pat it dry. After an hour, observe your skin. If it feels tight and looks flaky, you likely have dry skin. If it looks shiny and feels greasy, you likely have oily skin. If your T-zone is oily but your cheeks are dry, you likely have combination skin. If your skin feels balanced and looks healthy, you likely have normal skin.
Once you have determined your skin type, you can tailor your DIY skincare routine accordingly. For normal skin, focus on maintaining balance and hydration. For dry skin, prioritize moisturizing ingredients to combat dryness. For oily skin, opt for lightweight and oil-controlling ingredients. For combination skin, use products that address both oily and dry areas.
Essential Ingredients for DIY Skincare: Natural and Affordable Options
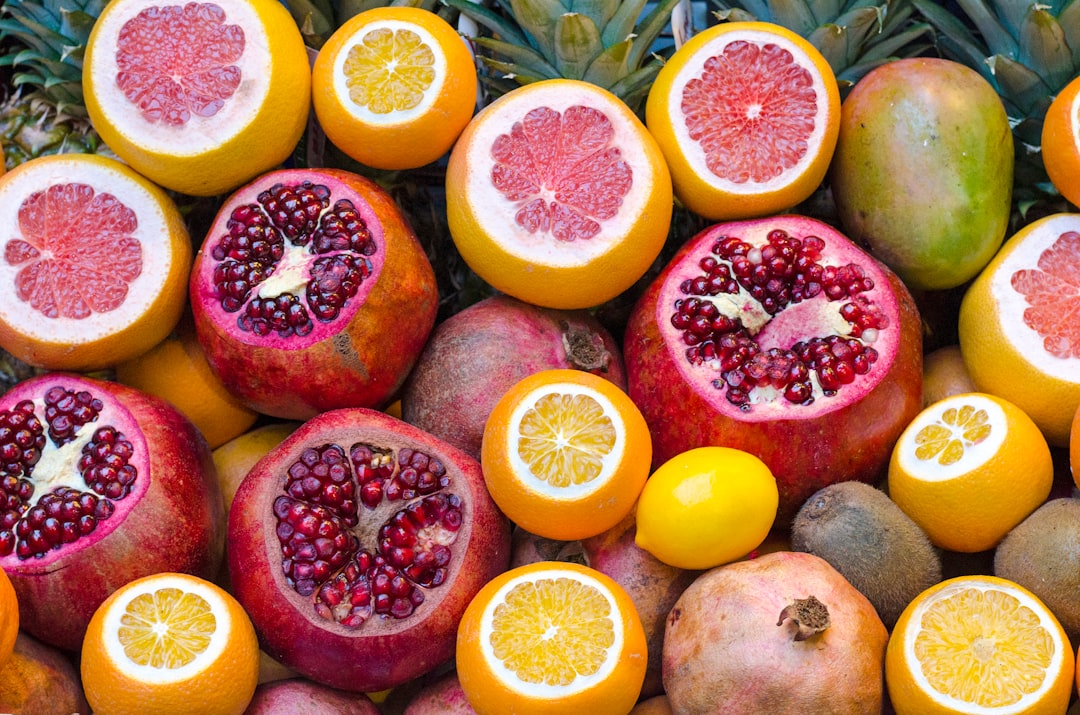
When it comes to DIY skincare, natural ingredients are often the go-to choice. Natural ingredients offer a range of benefits for the skin, such as hydration, nourishment, and soothing properties. Some popular natural ingredients for DIY skincare include aloe vera, honey, coconut oil, jojoba oil, shea butter, green tea, and essential oils.
Aloe vera is known for its soothing and hydrating properties. It can be used in DIY face masks, toners, and moisturizers to calm irritated skin and provide moisture. Honey is a natural humectant that helps to retain moisture in the skin. It can be used in DIY face masks and cleansers to hydrate and soften the skin.
Coconut oil is a versatile ingredient that can be used in DIY skincare for its moisturizing properties. It can be used as a facial cleanser, makeup remover, or body moisturizer. Jojoba oil is similar to the skin’s natural sebum and can help balance oil production. It can be used in DIY serums and moisturizers for all skin types.
Shea butter is a rich moisturizer that is especially beneficial for dry and sensitive skin. It can be used in DIY body butters and lip balms to nourish and protect the skin. Green tea is packed with antioxidants that help fight free radicals and reduce inflammation. It can be used in DIY toners and face masks to soothe and rejuvenate the skin.
Essential oils, such as lavender, tea tree, and rosehip, can be added to DIY skincare products for their therapeutic properties. However, it is important to use them in moderation and dilute them properly to avoid skin irritation.
When it comes to affordability, DIY skincare ingredients can be much more cost-effective compared to commercial products. Many natural ingredients can be found in your kitchen or local grocery store at a fraction of the cost of store-bought skincare products. By purchasing these ingredients in bulk, you can save even more money in the long run.
To properly store DIY skincare ingredients, it is important to keep them in a cool, dark place away from direct sunlight and moisture. Many natural ingredients are sensitive to light and heat, which can degrade their effectiveness. Using airtight containers or amber glass bottles can help prolong the shelf life of your DIY skincare products.
DIY Facial Cleansers: Recipes for a Clean and Clear Complexion
Facial cleansers are an essential part of any skincare routine as they help remove dirt, oil, and impurities from the skin. DIY facial cleansers offer a natural alternative to commercial cleansers that may contain harsh ingredients or irritants. Here are some DIY facial cleanser recipes for different skin types:
1. Gentle Cleansing Milk (for dry and sensitive skin):
– 1 tablespoon of almond oil
– 1 tablespoon of honey
– 1 tablespoon of rose water
Mix the ingredients together and massage onto damp skin. Rinse off with warm water.
2. Foaming Gel Cleanser (for oily and acne-prone skin):
– 2 tablespoons of castile soap
– 1 tablespoon of witch hazel
– 10 drops of tea tree essential oil
Mix the ingredients together and apply to damp skin. Massage gently and rinse off with warm water.
3. Balancing Clay Cleanser (for combination skin):
– 1 tablespoon of bentonite clay
– 1 tablespoon of apple cider vinegar
– 1 tablespoon of rose water
Mix the ingredients together to form a paste. Apply to damp skin and leave on for 5-10 minutes. Rinse off with warm water.
When using DIY facial cleansers, it is important to massage the product onto damp skin in gentle circular motions. Avoid scrubbing too harshly as this can irritate the skin. Rinse off with warm water and pat dry with a clean towel. Follow up with a toner and moisturizer suitable for your skin type.
Homemade Face Masks: Nourishing Treatments for Glowing Skin
Face masks are a great way to pamper your skin and provide it with extra nourishment. DIY face masks allow you to customize the ingredients based on your specific skin concerns. Here are some DIY face mask recipes for different skin types:
1. Hydrating Avocado Mask (for dry skin):
– ½ ripe avocado
– 1 tablespoon of honey
– 1 tablespoon of plain yogurt
Mash the avocado until smooth and mix in the honey and yogurt. Apply to clean, dry skin and leave on for 15-20 minutes. Rinse off with warm water.
2. Purifying Clay Mask (for oily and acne-prone skin):
– 1 tablespoon of bentonite clay
– 1 tablespoon of apple cider vinegar
– 3 drops of tea tree essential oil
Mix the ingredients together to form a paste. Apply to clean, dry skin and leave on for 10-15 minutes. Rinse off with warm water.
3. Soothing Green Tea Mask (for sensitive skin):
– 1 green tea bag
– 1 tablespoon of honey
– 1 tablespoon of aloe vera gel
Steep the green tea bag in hot water for a few minutes. Remove the tea bag and let it cool. Mix the honey and aloe vera gel with the cooled green tea. Apply to clean, dry skin and leave on for 10-15 minutes. Rinse off with warm water.
When using DIY face masks, apply an even layer to clean, dry skin and avoid the eye area. Relax and let the mask sit for the recommended time before rinsing off with warm water. Follow up with a toner and moisturizer suitable for your skin type.
DIY Toners and Mists: Refreshing and Hydrating Formulas
Toners and mists are often used after cleansing to balance the skin’s pH levels, hydrate, and prepare it for further skincare steps. DIY toners and mists offer a natural alternative to commercial products that may contain alcohol or other harsh ingredients. Here are some DIY toner and mist recipes for different skin types:
1. Hydrating Rosewater Toner (for all skin types):
– ¼ cup of rose water
– 2 tablespoons of witch hazel
– 5 drops of lavender essential oil
Mix the ingredients together in a spray bottle. Shake well before each use and spritz onto clean skin.
2. Soothing Chamomile Toner (for sensitive skin):
– ¼ cup of chamomile tea (cooled)
– 2 tablespoons of aloe vera gel
– 1 tablespoon of witch hazel
Mix the ingredients together in a spray bottle. Shake well before each use and spritz onto clean skin.
3. Balancing Green Tea Toner (for oily and acne-prone skin):
– ¼ cup of green tea (cooled)
– 2 tablespoons of apple cider vinegar
– 5 drops of tea tree essential oil
Mix the ingredients together in a spray bottle. Shake well before each use and spritz onto clean skin.
When using DIY toners and mists, close your eyes and spritz onto clean skin. Gently pat the product into the skin or let it air dry. Follow up with a moisturizer suitable for your skin type.
DIY Serums and Oils: Anti-Aging and Moisturizing Solutions
Serums and oils are concentrated treatments that target specific skin concerns, such as aging, dryness, or hyperpigmentation. DIY serums and oils allow you to customize the ingredients based on your specific needs. Here are some DIY serum and oil recipes for different skin types:
1. Anti-Aging Rosehip Serum (for all skin types):
– 1 tablespoon of rosehip oil
– 5 drops of frankincense essential oil
– 5 drops of geranium essential oil
Mix the ingredients together in a dark glass bottle. Apply a few drops to clean, dry skin and gently massage in.
2. Hydrating Argan Oil (for dry skin):
– 1 tablespoon of argan oil
– 3 drops of lavender essential oil
– 3 drops of chamomile essential oil
Mix the ingredients together in a dark glass bottle. Apply a few drops to clean, dry skin and gently massage in.
3. Balancing Jojoba Oil (for oily and acne-prone skin):
– 1 tablespoon of jojoba oil
– 3 drops of tea tree essential oil
– 3 drops of lemon essential oil
Mix the ingredients together in a dark glass bottle. Apply a few drops to clean, dry skin and gently massage in.
When using DIY serums and oils, apply a few drops to clean, dry skin and gently massage in. Allow the product to absorb before applying any other skincare products.
Natural Remedies for Common Skin Issues: Acne, Dryness, and Sensitivity
Acne, dryness, and sensitivity are common skin issues that can be effectively treated with natural remedies. Here are some natural remedies for these skin concerns:
1. Acne:
– Tea tree oil: Apply a drop of tea tree oil directly to acne spots to reduce inflammation and kill bacteria.
– Witch hazel: Use witch hazel as a toner to help control oil production and reduce acne breakouts.
– Aloe vera gel: Apply a thin layer of aloe vera gel to acne-prone areas to soothe inflammation and promote healing.
2. Dryness:
– Coconut oil: Apply a small amount of coconut oil to dry areas to provide intense hydration and nourishment.
– Honey: Mix honey with a few drops of water and apply it as a face mask to hydrate and soften the skin.
– Shea butter: Use shea butter as a body moisturizer to deeply hydrate and protect dry skin.
3. Sensitivity:
– Oatmeal: Mix ground oatmeal with water to form a paste. Apply it as a face mask to soothe and calm sensitive skin.
– Cucumber: Slice a cucumber and place the slices on sensitive areas to reduce redness and irritation.
– Calendula oil: Apply a few drops of calendula oil to sensitive areas to soothe inflammation and promote healing.
When using natural remedies, it is important to patch test the ingredients before applying them to your entire face or body. This helps to ensure that you do not have any adverse reactions to the ingredients. If you experience any irritation or discomfort, discontinue use and consult a dermatologist.
DIY Body Scrubs and Moisturizers: Luxurious Treatments for Smooth Skin
Body scrubs and moisturizers are essential for keeping the skin on your body smooth, hydrated, and glowing. DIY body scrubs and moisturizers offer a natural and affordable alternative to commercial products. Here are some DIY body scrub and moisturizer recipes:
1. Exfoliating Coffee Scrub:
– ½ cup of ground coffee
– ¼ cup of coconut oil
– ¼ cup of brown sugar
Mix the ingredients together in a bowl. Apply the scrub to damp skin and massage in circular motions. Rinse off with warm water.
2. Nourishing Shea Butter Body Butter:
– ½ cup of shea butter
– ¼ cup of coconut oil
– 10 drops of your favorite essential oil (optional)
Melt the shea butter and coconut oil in a double boiler. Let it cool slightly and add the essential oil if desired. Whip the mixture until light and fluffy. Transfer to a jar and let it solidify before use. Apply to clean, dry skin as needed.
3. Hydrating Honey Moisturizer:
– ¼ cup of honey
– 2 tablespoons of almond oil
– 1 tablespoon of aloe vera gel
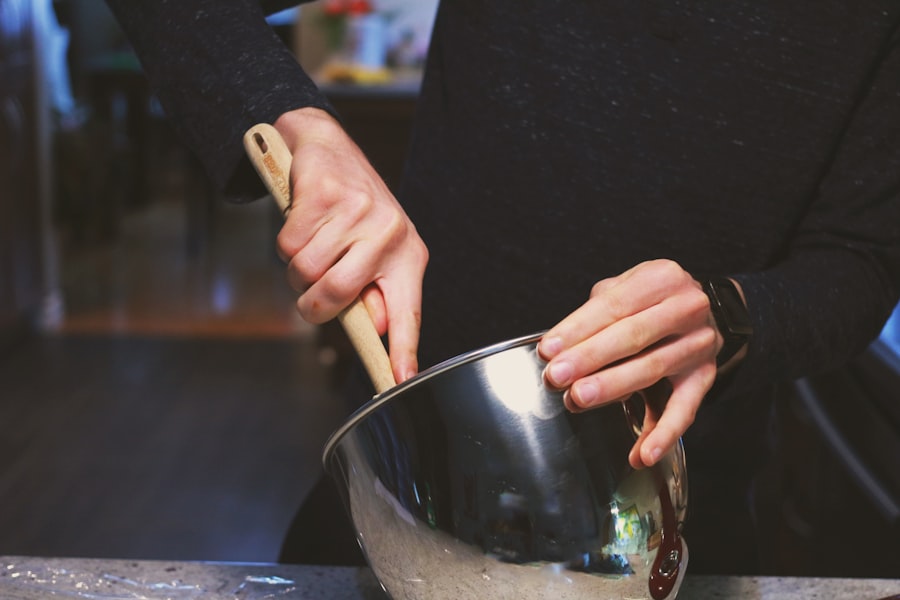
Mix the ingredients together in a large bowl until well combined. Use a whisk or a spoon to ensure that all the ingredients are evenly distributed and there are no lumps. Make sure to scrape the sides and bottom of the bowl to incorporate any stray bits of ingredients. Continue mixing until the mixture is smooth and creamy. Once everything is thoroughly mixed, the batter is ready to be used in your recipe.
If you’re interested in DIY skincare, you might also want to check out this informative article on understanding your skin type and how to personalize your skincare routine. It provides a comprehensive guide to help you determine your skin type and offers tips on choosing the right products for your specific needs. You can find the article here. Additionally, if you’re curious about the hype surrounding retinol and its potential as a miracle skin solution, this article explores the topic in depth. It discusses the benefits, potential side effects, and whether or not it lives up to its reputation. You can read more about it here.
FAQs
What is DIY Skincare?
DIY Skincare refers to the practice of making your own skincare products at home using natural ingredients. It is a cost-effective and eco-friendly way to take care of your skin.
Why should I try DIY Skincare?
DIY Skincare allows you to customize your skincare routine according to your skin type and concerns. It also eliminates the use of harmful chemicals found in commercial skincare products.
What are some easy DIY Skincare recipes?
Some easy DIY Skincare recipes include a honey and oatmeal face mask, a coconut oil and sugar body scrub, and a green tea toner.
What are the benefits of using natural ingredients in DIY Skincare?
Natural ingredients used in DIY Skincare are gentle on the skin and do not cause irritation or allergic reactions. They also contain vitamins and antioxidants that nourish and protect the skin.
Can DIY Skincare be harmful?
DIY Skincare can be harmful if the ingredients used are not suitable for your skin type or if the recipes are not followed correctly. It is important to do a patch test before using any new DIY Skincare product.
Where can I find ingredients for DIY Skincare?
Ingredients for DIY Skincare can be found in health food stores, online retailers, and even in your kitchen pantry. It is important to use high-quality, organic ingredients for best results.
Is DIY Skincare suitable for all skin types?
DIY Skincare can be customized for all skin types, including sensitive, oily, dry, and combination skin. It is important to choose ingredients that are suitable for your skin type and to do a patch test before using any new product.